OptiTrace 5000 Surface Profilometer: Surface Roughness And Contour Measurement
-
Overview
OptiTrace 5000 Overview
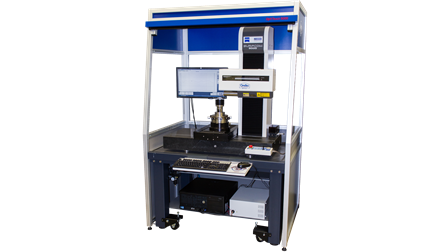
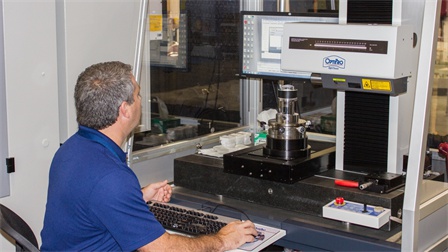
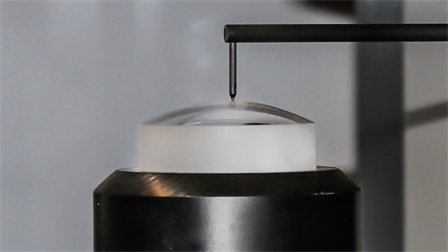
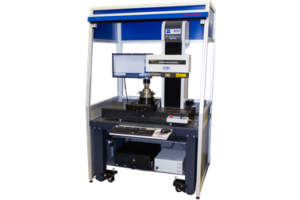
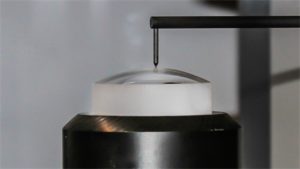
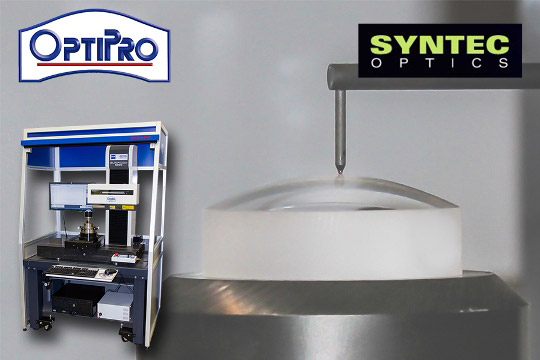
High precision contact surface profilometer and a unique solution for the measurement of spheres, aspheres, and cylinder precision optics. OptiTrace 5000 is the integration of OptiPro’s powerful analysis software, ergonomic environmental enclosure and the Y-Theta air bearing unit with the ZEISS Surfcom 5000 profilometer for 2D and 3D measurement.
Multiple advanced features help companies achieve fast and precise contour measurement and surface roughness analysis:
- Large measuring range: up to 200 mm of X-axis travel and 32 mm vertical sag deviation
- Ergonomic environmental enclosure reduces the influence of fluctuating shop conditions
- Dual beam laser feedback and jeweled diamond stylus pivot maximize repeatability
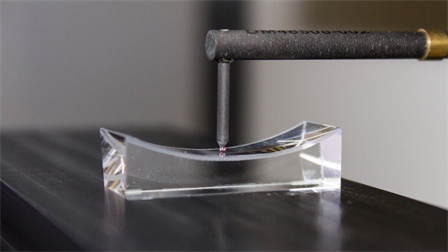
- Multiple stylus configurations available: 2 micron or 5 micron diamond, 1 mm or 2 mm ruby ball
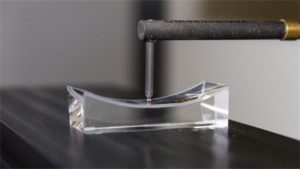
- Y-theta air bearing option allows for 3D surface topography generation and acylinder measurement
The features above in conjunction with OptiPro’s powerful analysis software, OptiTrace, make the OptiTrace 5000 the ideal surface profilometer for cylinders, aspheres, spheres, and plano precision optics.
-
Specs
OptiTrace 5000 Technical Specifications
Surfcom 5000 Technical Specifications*
High precision aspheric contour measurement and surface roughness analysis
- Large measuring range – up to 32 mm vertical, 200 mm x-axis
- User-friendly and simplified software interface for automated measurement and analysis
- Comprehensive, aspheric analysis software with custom form and filter data entry
- Aspheric toolbox for form analysis with slope error, optimized base radius, and sag table tools
Surface Profilometer Specs* OptiTrace 5000 Horizontal axis (X-Axis) Traversing length; Measuring range 200 mm Straightness accuracy 0.05 + 3L/µm Resolution 0.54 nm Indicated X accuracy +/- (0.2 µm+L/1000 mm) Tracing speed Variable from 0.03 mm/s to 60 mm/s Detection principle Scale Column axis (C-Axis) Traversing height 500 mm Drive speed Variable to 200 mm/s Detection principle Scale Detector Detection principle Dual beam laser interferometer Resolution 0.31 nm Measuring range 13 mm, 26 mm, and 32 mm Indicated Z accuracy + (0.2 + I H I /1000) µm Measuring force 0.75 mN Radius of stylus 2 µm diamond, 0.5 mm, 1.0 ruby Material of stylus Diamond (option: ruby ball) Tracing arm lift off Automatic system Miscellaneous Power supply 110, 120 Vac (50-60 Hz) Power consumption Approx. 350 VA Dimensions 2100 mm width, 1500 mm height, 1000 mm depth Dimensions of base 600 mm width, 320 mm depth Weight Approx. 350 kg Standard accessories Calibration device, gauge block, tools, diamond & ruby tip styli Environment Temperature 10-30°C Accuracy guaranteed 20 ± 2°C (without direct air movement) 0.5°C / 1 hour (maximum rate of change) 0.1°C / operation time Humidity 40-80% (without moisture) *Specifications subject to change. For the latest specifications of the Surfcom 5000, please contact Carl Zeiss IMT Corporation or go to www.zeiss.com/imt.
-
Video
